Appendix B: Alternate SMTP Email Setup
Existing customers whose email notifications are get blocked can configure an alternate SMTP email account. Use these steps below to set up this account. You will be using a Gmail account to receive notifications. If you do not have a Gmail account, go to www.gmail.com and setup a new account. Once you are logged into your Gmail account, you must enable IMAP and change a security setting in order to be able to receive email notifications from the Sierra server.
Note: The SMTP email address that is used in the SITE tab will now act as the email server and all notifications from the server will be SENT from this address. The email addresses that are entered under the USER area are the addresses where the email will be received.
Requirements
- Personal Google Gmail email account
- SierraX administrative user account
Steps
Use the steps in this section to configure IMAP for a Gmail email account and then configure email notifications in SierraX.
Configure Gmail Account
Use the following steps to enable IMAP (Internet Message Access Protocol) for a Gmail email account. IMAP is a process for an email account to connect to the provider’s server so messages stay on the server and can be viewed from different devices. It keeps everything in sync, so when message is read, deleted, or moved at one device, the change appears on all other devices. IMAP downloads message headers quickly and only fetches full messages or attachments when opened, saving data and speeding up browsing. It doesn’t send email (that uses SMTP), and it’s the best choice if you check mail from multiple devices.
- Sign in to a Google Gmail account.
- Select the settings icon () in the top right corner. The Settings menu opens..
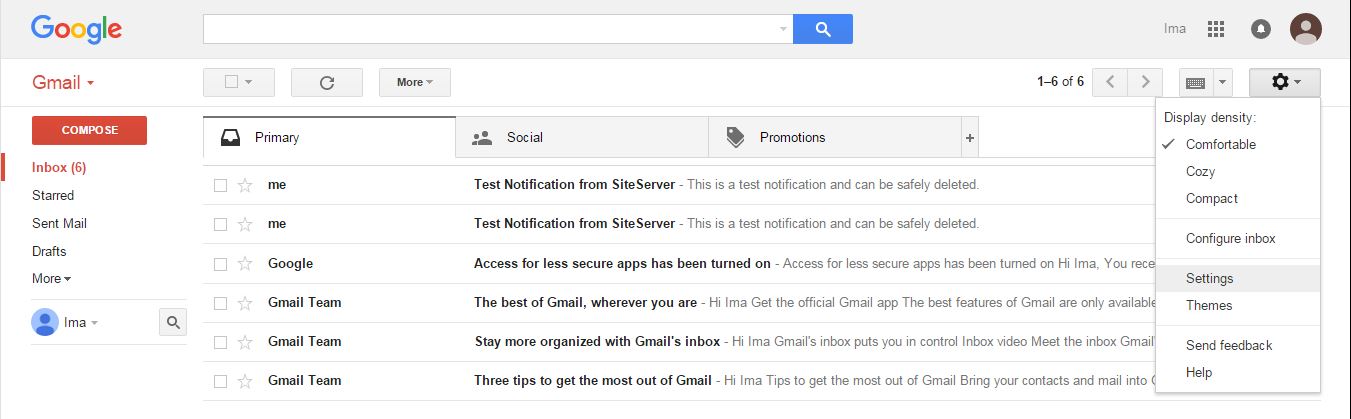
- Select Settings. The Settings panel opens.
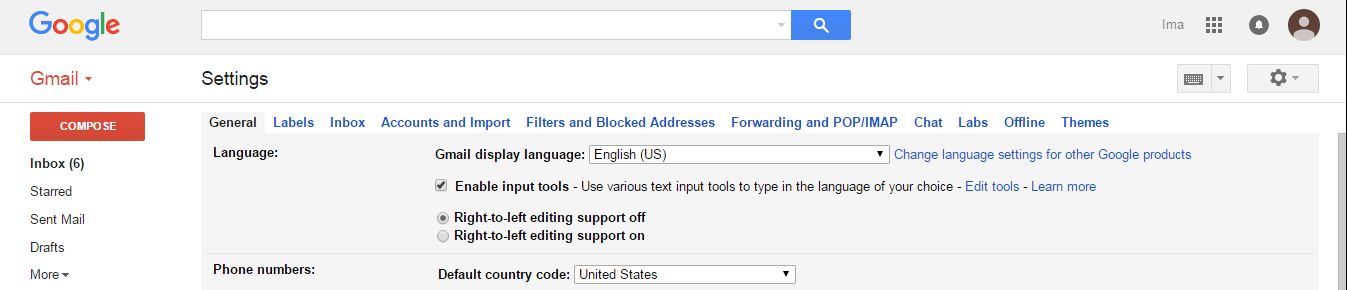
- Select Forwarding and POP/IMAP.
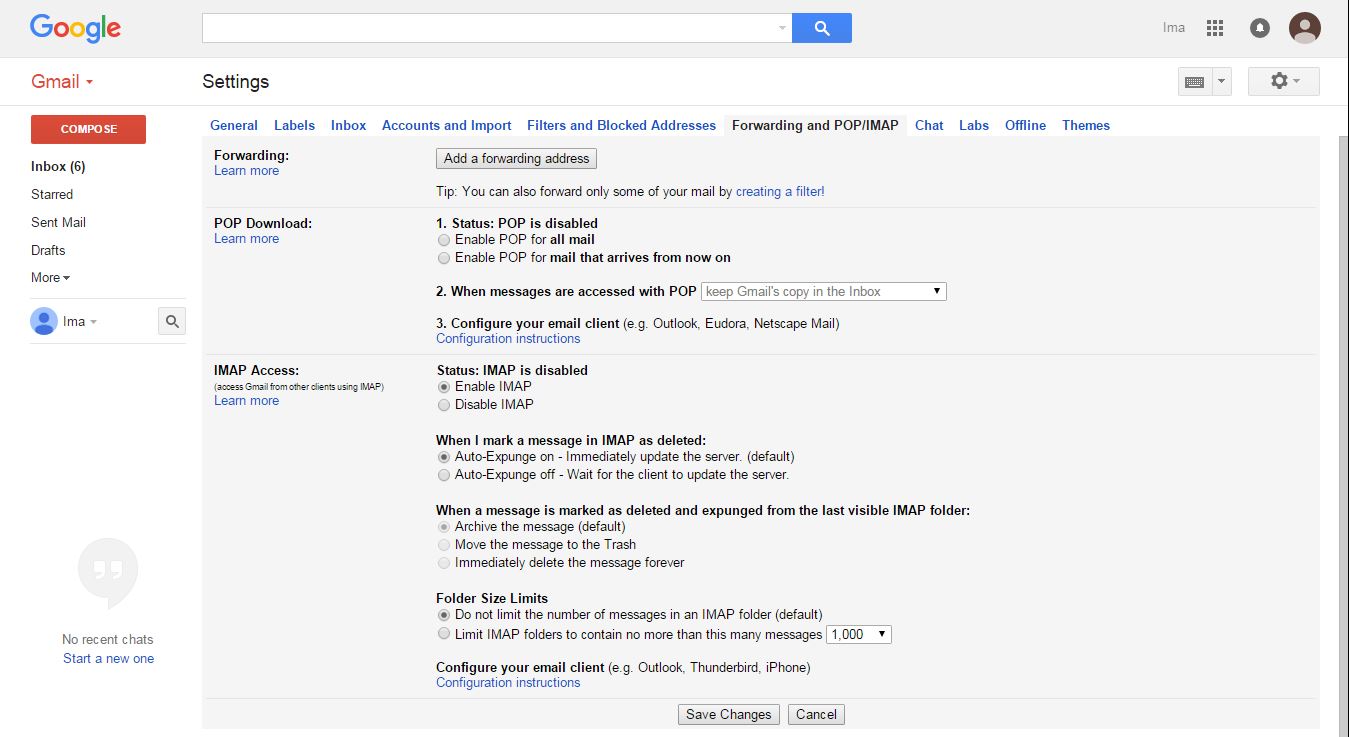
- Enable IMAP.
- Select Save Changes.
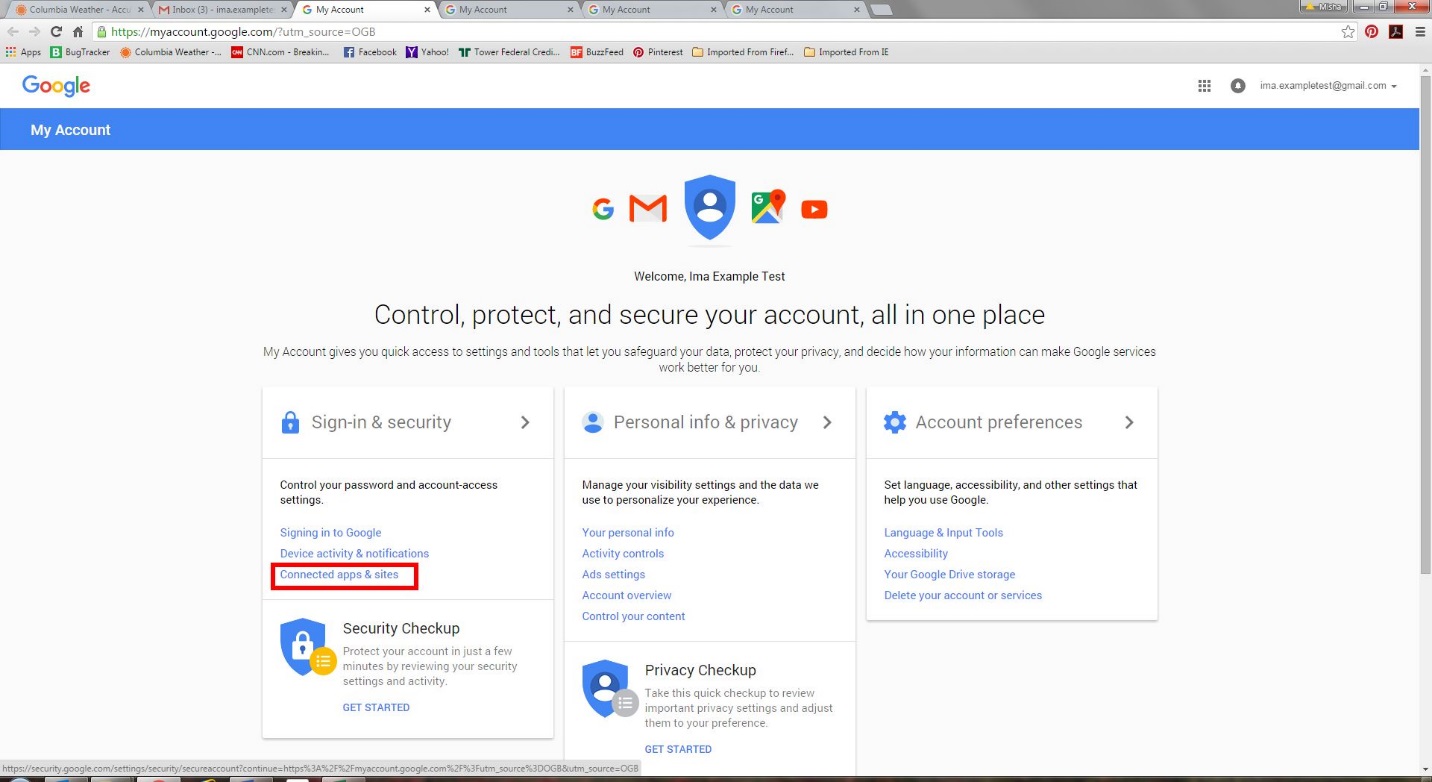
- From the top right corner, select the down arrow.
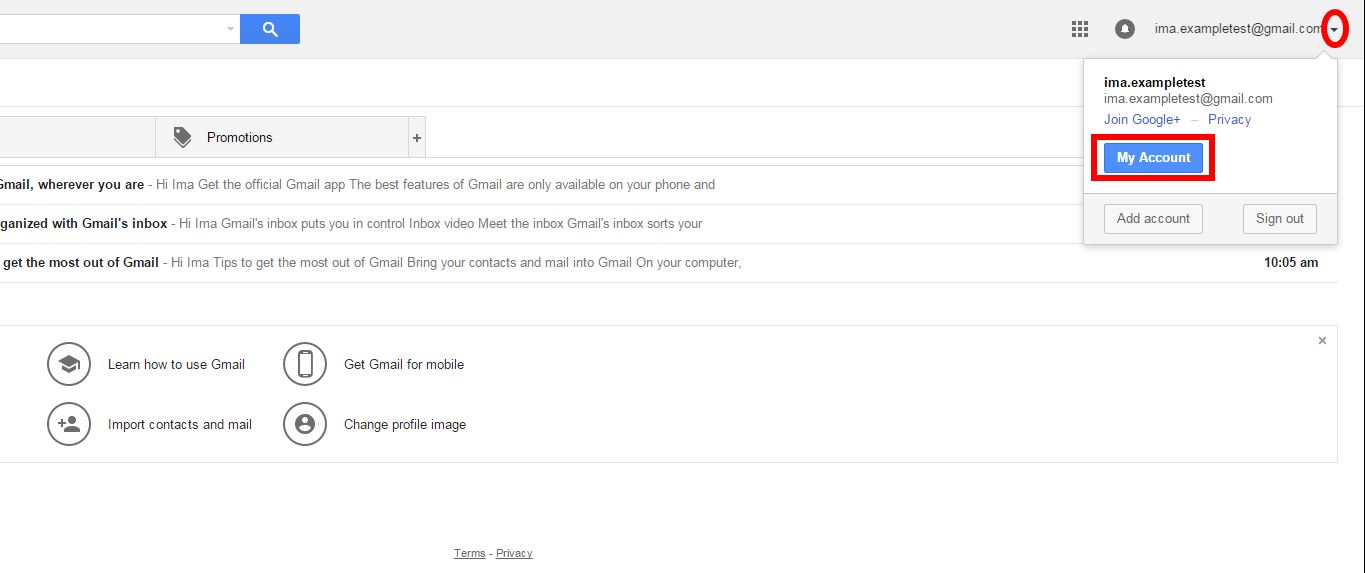
- Select My Account. The account settings panel opens.
- Under Sign in and Security, select Connected apps & sites.
- Navigate to the bottom.
- Set Allow less secure apps to Enabled.
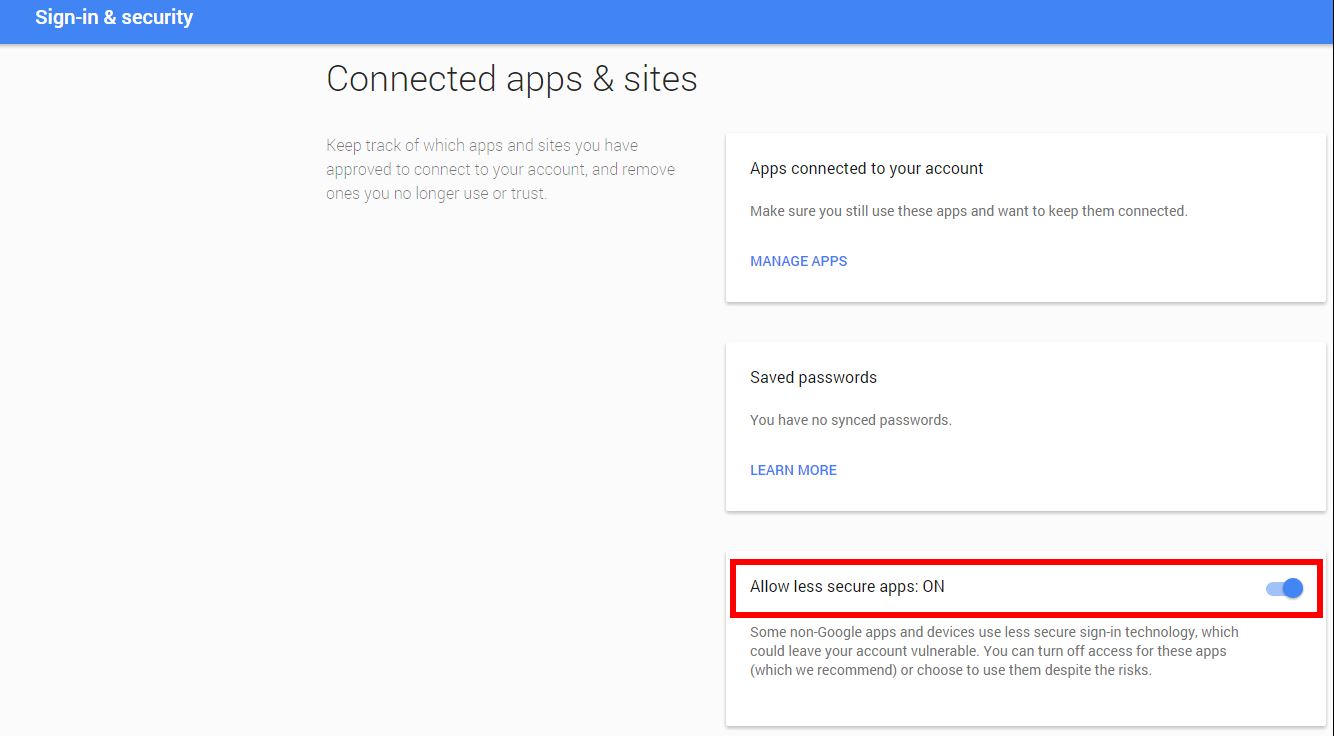
- Save the changes.
Configure SierraX Notifications
- Log in to SierraX with an administrative user account.
- Select Setup.
- Select Site.
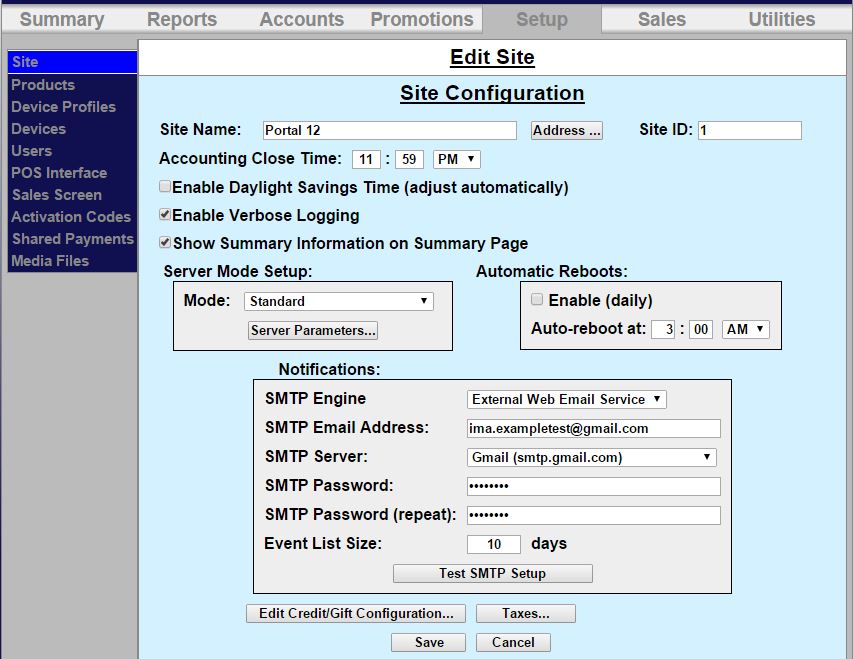
- Navigate to the Notifications section.
- In SMTP Engine, select External Web Email Service.
- In SMTP Email Address, enter the user's email address.
- In SMTP Server, select Gmail (smtp.gmail.com).
- In SMTP Password, enter the email account's password.
- In SMTP Password (repeat), enter the email account's password.
- Select Test SMTP Setup. The email account will receive a test message to verify the settings are correct.
- Select Save. The changes are saved.
Updated: 042726